Knitting a bucket hat can be an exciting and fulfilling project. Whether you choose vibrant colors or soft neutrals, the results will be stunning. This guide will walk you through every step of how to knit a bucket hat. By the end, you’ll have a stylish hat that you crafted yourself. Gather your materials, gear up, and let’s get started!
The Essential Materials for Your Bucket Hat
Yarn Selection
Choosing the right yarn is crucial for the success of your bucket hat. Opt for cotton or a cotton blend for breathability. Wool might be too warm, especially in sunny weather. A medium-weight yarn works best, providing both structure and flexibility. Additionally, consider color options that complement your style. Solid colors offer a classic look, while variegated yarns can add visual interest. Keep in mind that your choice of yarn will affect the overall texture and drape.
Knitting Needles
The type of knitting needles you use will also impact your project. Circular needles are often preferred for their ability to hold large amounts of stitches. Moreover, they can help you avoid the hassle of seaming later on. Typically, 16-inch circular needles in size 5-7 (US) are ideal for bucket hats. Using the right needle size ensures your stitches are even, which is essential for a finished product. Remember, the right tools will help you in the long run.
Preparing to Knit Your Bucket Hat
Gauge Swatch
Before diving into your bucket hat, create a gauge swatch. This small square will help you determine the correct size and stitch count. To make a gauge swatch, cast on about 20 stitches and knit for 4 inches. Measure your stitches after blocking. If your gauge differs from the pattern, adjust your needle size accordingly. This step might seem tedious, but it will save you time later. Getting the right gauge ensures your hat will fit perfectly.
Choosing a Pattern
Now that you’ve prepared your materials, choose a knitting pattern. Many free patterns are available online. Whether you prefer a basic design or something intricate, there’s a pattern for everyone. Look for beginner-friendly options if you’re new to knitting. More experienced knitters may want to challenge themselves with cables or lacework. Take your time to find one that excites you. An engaging pattern will keep you motivated throughout the process.
Starting Your Bucket Hat
Casting On
Once you’ve settled on a pattern and gathered your materials, it’s time to start. Follow the pattern instructions for casting on. Generally, casting on about 60-80 stitches works for most head sizes. Use a long-tail cast-on for a stretchy start. This technique is both simple and effective. Be sure to distribute stitches evenly on your needle to avoid tension issues. Once you cast on, you’ll be on your way to crafting a stylish hat.
Working in the Round
After casting on, join your stitches to begin knitting in the round. Be careful not to twist your stitches as you do this. Place a stitch marker at the beginning of your round. This marker helps you keep track of your rounds. Start by knitting the required ribbing as per your chosen pattern. This ribbing will create a snug fit that ensures comfort. Keep your tension consistent for the best results as you progress.
Adding Texture and Style
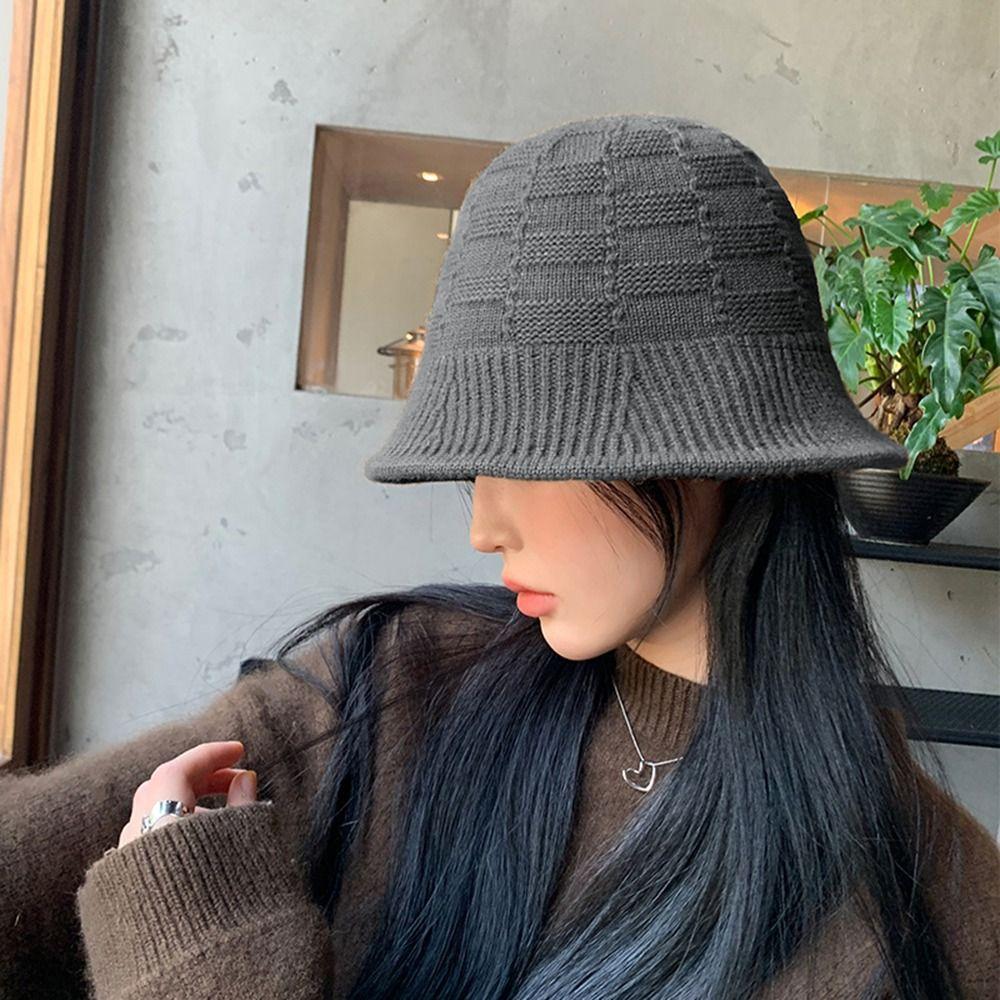
Incorporating Stitches
Once you’ve completed the ribbing, it’s time to add texture. Many patterns include various stitch techniques, such as garter or stockinette stitches. Alternating between stitches creates visual interest. This variation can elevate your hat’s overall appearance. If your pattern includes colorwork, it’s an excellent moment to show off your creative side. Choose colors that complement your main yarn for a fun design that stands out.
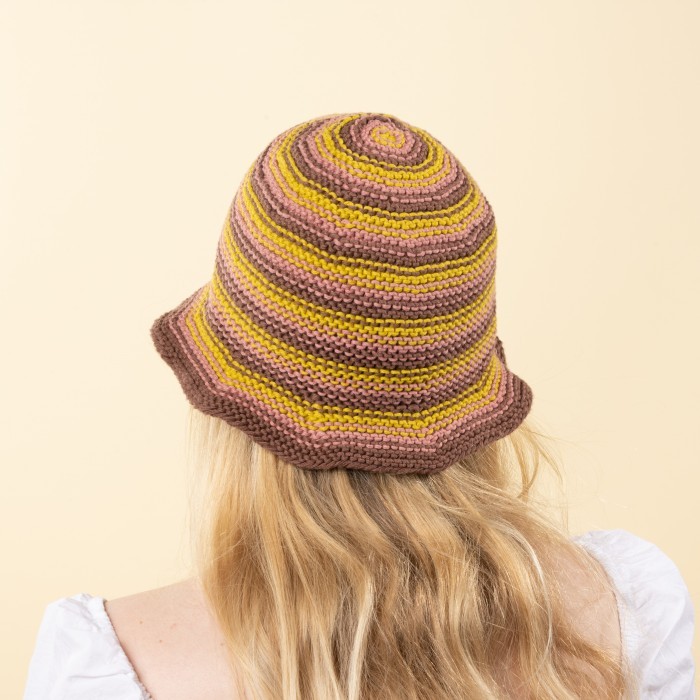
Shaping the Crown
As you continue knitting, you’ll need to shape the crown of your hat. Most patterns provide specific instructions for shaping. This usually involves decreases spaced evenly around the crown. Decreasing helps create a more tailored look. Make sure to follow these instructions carefully for a professionally finished project. The shaping will lead to a well-defined silhouette that enhances the style of your bucket hat.
Finalizing Your Bucket Hat
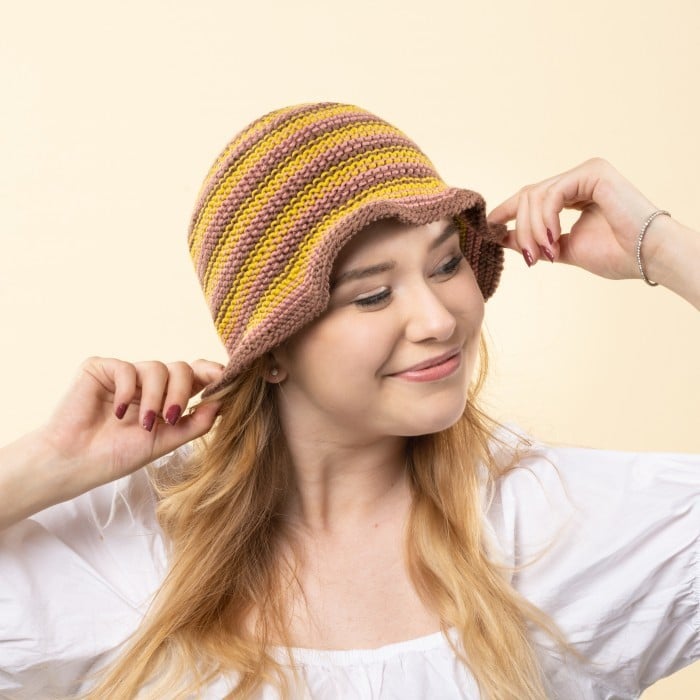
Knitting the Brim
After shaping the crown, it’s time to knit the brim. This part of the hat gives it a signature bucket shape. Often, patterns will have you switch to a different stitch type for the brim. For instance, you might switch to stockinette or garter. This helps your brim stand out and add character. Follow your pattern closely while working this section for the best results. The right brim can make or break the entire design of the hat.
Binding Off
Once you’ve finished knitting the brim, it’s time to bind off. Follow the binding-off technique specified in your pattern. Ensure that your bind-off is not too tight. A tighter bind-off can restrict the brim, making it uncomfortable. Instead, aim for a stretchy finish that retains the brim’s shape. Once you’ve completed this step, take a moment to admire your work before moving on to finishing touches.
Finishing Touches
Weaving in the Ends
After binding off, it’s essential to weave in your yarn ends securely. Use a tapestry needle to weave your ends into the fabric smoothly. This step prevents unraveling and leaves your hat looking polished. Take care to hide the ends in the same color scheme for a seamless look. This is also a great time to check for any missed stitches or areas needing adjustment. Finishing touches make all the difference in your project’s overall presentation.
Blocking Your Hat
Blocking your bucket hat is an excellent way to refine its shape. Wet blocking is often the preferred method. Submerge the hat in water and gently squeeze out excess moisture. Lay it flat on a towel, manipulating it into the desired shape. This step also helps even out stitches and improve the texture. Allow it to dry completely before wearing. Blocking elevates an already charming hat to an even higher level of quality.
Personalizing Your Bucket Hat
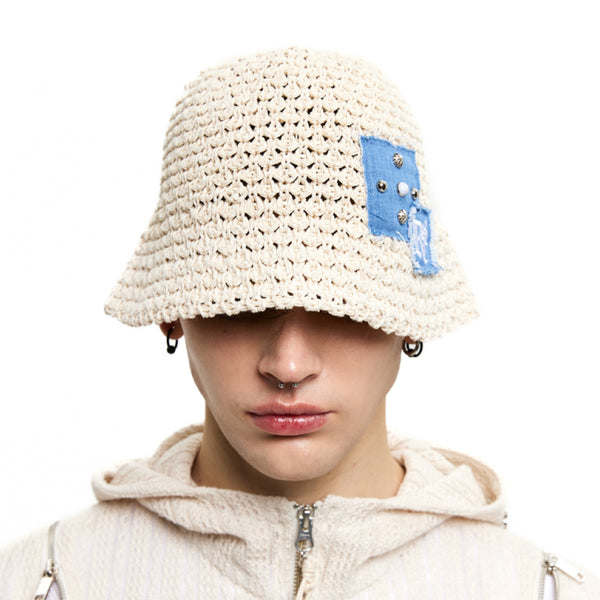
Adding Embellishments
Once your hat is complete, think about personalizing it. Adding embellishments can give it a unique flair. Consider sewing on patches or pins that reflect your style. You might also want to add a contrasting band or brim to make it pop. Such touches truly reflect your personality and creativity. That said, take care not to overdo it. A few well-placed embellishments often speak volumes.
Customizing Sizes
If you’re knitting for others, customize the sizes according to individual measurements. This means taking accurate head measurements before starting your project. Consult a sizing chart if your pattern provides one. Adjusting the stitch count is most effective if the hat is overly snug or loose. Knitting is an art, and much of it is about finding the right fit. Customized sizes ensure your bucket hat will be a successful piece for anyone.
Caring for Your New Bucket Hat
Washing Instructions
Once you’ve completed your masterpiece, you want to keep it looking great. Washing your new bucket hat properly will prolong its life. Generally, hand washing is recommended for knitted items. Use cold water and a gentle detergent, avoiding any harsh chemicals. Rinse thoroughly and gently squeeze the water out without wringing it. If your yarn is machine washable, follow the care instructions for best results. Always lay flat to dry, as hanging can warp its shape.
Storing Your Hat
Proper storage also contributes to maintaining the quality of your bucket hat. Store it in a cool, dry place away from direct sunlight. Avoid folding it, as this can create unwanted creases. Instead, lay it flat in a storage box or drawer. If you have multiple hats, consider using a hat box. This will help keep them organized and free from dust. Caring for your bucket hat ensures it remains a staple in your wardrobe.
Conclusion: Enjoying Your Handmade Bucket Hat
In summary, knitting a bucket hat is both enjoyable and rewarding. Now, you have a fashionable accessory crafted by your own hands. Wear it with pride, knowing you’ve created something unique. You can also share your experience and skills with others. Plus, consider making hats for family and friends as gifts. Customized pieces make heartfelt presents, boosting your handmade items. Finally, don’t forget to experiment with different designs in the future! Happy knitting!