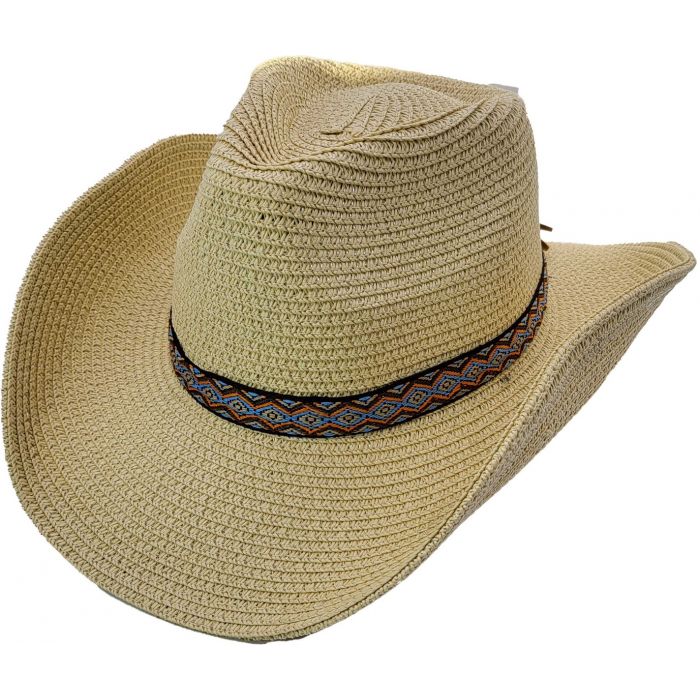
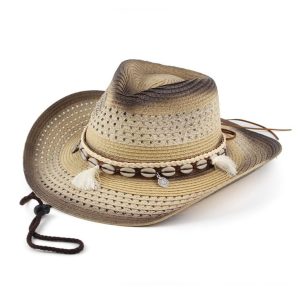
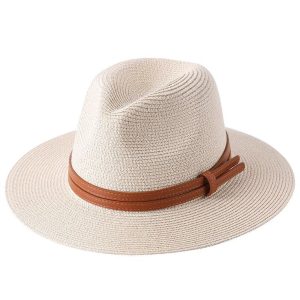
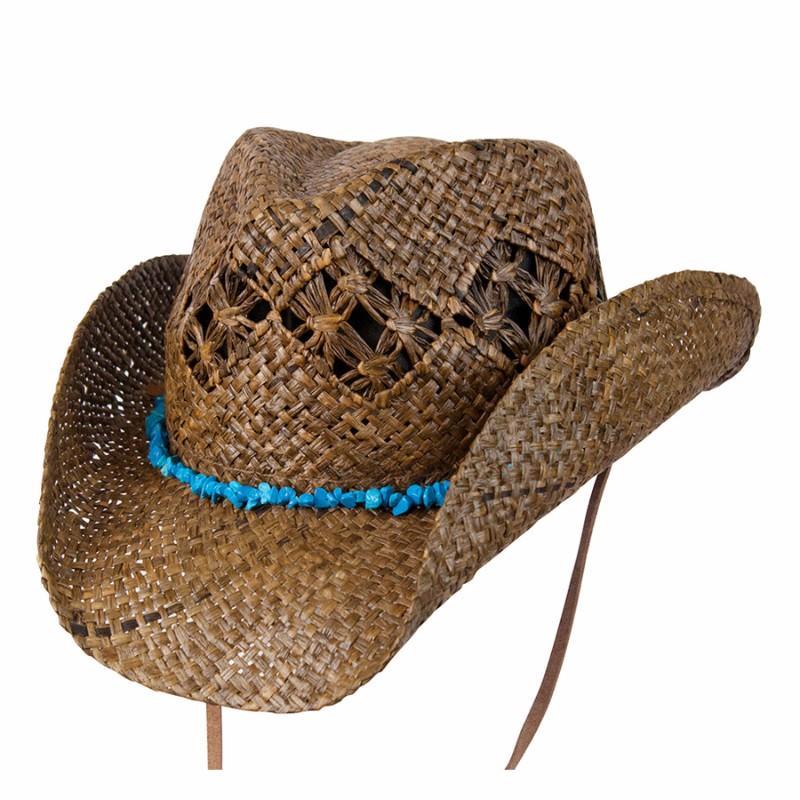
Straw cowboy hats blend style, tradition, and utility – making them iconic in Western wear. Crafting the perfect shape for your straw hat involves finesse and patience, allowing you to tailor it specifically to your personality and needs. Learning how to shape a straw cowboy hat can prove both rewarding and essential for comfort and aesthetics. This comprehensive guide will walk you through each step, ensuring your cowboy hat reflects your unique style.
Preparing Your Straw Hat
Shaping your straw cowboy hat begins with proper preparation. This step is crucial to ensure the best results and avoid damaging the hat. Preparation entails assembling the right tools and creating an ideal environment to work in.
Gathering Essential Tools and Materials
Before beginning, you’ll need a few specific items. Most importantly, a reliable hat steamer or steam-producing appliance is necessary. The gentle application of steam will soften the straw, making it easier to shape. Additionally, you’ll want a spray bottle filled with water to keep the straw damp. A small hand towel might come in handy to dab away excess moisture. Finally, consider having a shaping template or hat block to accurately form the desired shape.
Creating an Optimal Workspace
To best prepare your hat, you need a clean, clutter-free environment. A well-ventilated area is essential because steaming can create humidity. Ensure you have adequate lighting to see all angles clearly. Be sure to work on a flat, sturdy surface, such as a table or counter. It helps to have a mirror nearby; it allows you to assess the symmetry of your shaping process periodically.
Steaming and Shaping the Brim
The brim is one of the most noticeable parts of a cowboy hat. It frames the face and, when shaped correctly, enhances the overall appearance.
Softening the Straw with Steam
Begin by steaming the brim of the cowboy hat. Hold the brim over the steam source, ensuring it becomes soft but not saturated. This process usually takes about one to three minutes per section. Steaming relaxes the straw fibers, making it pliable and easier to mold. Avoid holding any single section for too long to prevent the straw from becoming too wet, which can weaken its structure. After each section softens, gently press or mold it to the desired curve.
Creating Even Curves and Angles
Once the straw is pliable, you can shape the brim. Carefully curve the brim upward or down depending on your preference. Working from the front to back, use steady, even pressure to form symmetrical curves. For a traditional cowboy hat style, turn the sides upward and leave the front and back relatively flat. Use a shaping template or hat block as a guide, if needed. Hold each section in place for a moment to set the shape before moving on to another segment.
Shaping the Crown
The crown gives a cowboy hat its distinct personality. When shaping the crown, focus on forming creases and indentations that complement the brim and suit your style.
Steaming the Crown for Flexibility
Like the brim, the crown also needs to be softened first. Utilize your steamer to apply a consistent amount of steam around the crown. It’s essential to keep the steam moving to avoid concentrating it in one spot. Once the crown feels pliable to the touch, you’re ready to start modeling it. Depending on your preference, you might want deeper creases or more subtle shaping. Keep a gentle hand here, as over-manipulating can warp the hat.
Forming Specific Creases and Indentations
There are many styles of creases you can choose, each lending a different look. The most popular options are the “Cattleman,” “Telescope,” and “Gus” creases. For a Cattleman crease, press ridges along the centerline and push the sides slightly inward. This classic Western look is timeless. For a Telescope crease, push the crown down flat, creating a low, rounded appearance. For a Gus crease, press deep, angular indentations on both sides of the crown. Remember to let each section cool and harden before moving on, ensuring your shape stays in place.
Drying and Setting the Shape
Once you’re satisfied with the brim and crown, the hat needs time to set and dry properly. This step is crucial in maintaining the new shape.
Proper Drying Techniques
To allow your hat to dry correctly, place it in an area with good air circulation. Avoid direct sunlight or heat sources, which can cause the straw to become brittle. If possible, rest the hat on a hat rack or inverted bowl. This setup preserves the shape while drying. It’s essential to rotate the hat periodically to ensure even drying on all sides.
Fixing Imperfections and Refinements
After the hat dries, inspect it for any minor imperfections. If necessary, you can make small corrections using a bit more steam. Be sure to focus only on the areas needing adjustment to avoid undoing all your hard work. Slightly dampening the straw with a spray bottle can also help with refinements. Finetuning ensures that your hat looks sharp and has a professional finish.
Protecting and Maintaining Your Shaped Hat
Maintaining the shape and condition of your straw cowboy hat is just as important as the initial shaping. Proper care extends the hat’s longevity and keeps it looking its best.
Regular Cleaning and Upkeep
Straw demands regular cleaning to stay in top shape. To remove dust, use a soft-bristled brush or a damp cloth. Gently brush away any debris, following the direction of the straw fibers. Periodically, wipe the hat with a slightly damp cloth and immediately dry it with a towel. Avoid soaking the hat; excessive moisture weakens the straw. Store your hat in a dry, cool place, in a hat box or on a sturdy hat stand.
Using Protective Sprays and Covers
Protective sprays can be valuable in maintaining your hat. Look for products designed specifically for straw, and follow the instructions on the label carefully. Lightly spray the surface to guard against UV rays, staining, and water damage. A breathable hat cover can also keep dust and dirt at bay when the hat is not in use. Remember, investing in these protective measures pays off in the long run.

Customizing and Personalizing Your Hat
Once your straw cowboy hat is shaped and protected, consider adding personalized touches. Customization allows you to create a truly unique piece that reflects your style.
Adding Decorative Elements
Decorative elements can turn your cowboy hat from standard to standout. Consider adding a hatband that suits your personality. Leather hatbands with conchos, beadwork, or even intricate stitching can provide a rustic, refined feel. A feather or pin can also add a touch of flair. Remember to choose embellishments that are weather-resistant if you intend to wear the hat outdoors frequently.
Incorporating Functional Features
Functionality can be as essential as appearance. Attach a chin strap to ensure your hat stays secure on windy days. This feature is handy for rodeos, horseback riding, or outdoor events. For added comfort, consider inserting a sweatband. Sweatbands not only provide better fit but also absorb moisture, keeping you cool. Balance aesthetics and functionality to get the most out of your hat.
Handling Common Issues
Despite meticulous shaping and maintenance, certain issues may arise. Knowing how to tackle these problems ensures your hat remains in peak condition.
Dealing with Warping and Deformations
Warping can occur if the hat is exposed to intense sunlight, heat, or moisture. If your hat loses its shape, don’t panic. Re-steam the affected area gently to regain pliability. Carefully reshape the section and allow it to dry properly. Avoid over-steaming, as this can weaken and distort the straw further.
Repairs for Small Damages
Small damages like cracks or frays in the straw can appear over time. For tiny cracks, clear fabric glue can be very effective. Apply a minimal amount along the crack and press the straw together. Allow it to dry thoroughly before wearing. Frayed edges can be trimmed carefully with sharp scissors. Regularly inspect your hat for such minor issues and address them promptly to prevent further damage.

Seasonal Considerations
Different seasons can affect your straw cowboy hat. Adapting your care routine based on seasonal changes helps in preserving its shape and quality.
Winter and Cold Weather Care
In winter, cold, dry air can make straw brittle. Keep your hat indoors when not in use, away from heaters and cold draughts. Humidify your storage area if possible to maintain moisture levels in the straw. Use protective sprays to safeguard against snow and moisture if you wear your hat outdoors.
Summer and Hot Weather Protection
Summer can pose the opposite issue with intense sunlight and heat. Avoid prolonged exposure to direct sunlight as it can fade the color and weaken the straw. Use a UV-protective spray to shield against sun damage. Always store your hat in a cool, shaded area when not wearing it.
Conclusion
Shaping a straw cowboy hat is an art that requires patience, precision, and care. By following these detailed steps, you can achieve a perfectly shaped hat that not only complements your style but also serves practical purposes. Regular maintenance and personalized touches further enhance your hat’s longevity and appeal. Whether for fashion, function, or a bit of both, a properly shaped straw cowboy hat remains an enduring symbol of the Western spirit.
