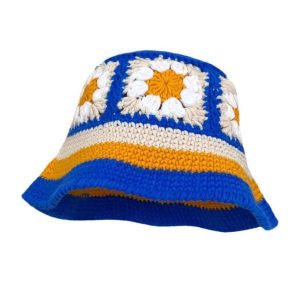
In the ever-evolving world of fashion and personal style, the humble bucket hat has made a remarkable resurgence, captivating the hearts and heads of fashion enthusiasts, streetwear aficionados, and anyone seeking a touch of laid-back cool. Beyond its undeniable aesthetic appeal, the bucket hat offers a practical solution to sun protection, versatility, and a means of self-expression. But what if you could take your love for this iconic headwear a step further and learn how to create your very own customized bucket hat?
In this comprehensive guide, we will delve into the art of making a DIY bucket hat, equipping you with the essential skills, techniques, and materials needed to craft your own unique and stylish headpiece. Whether you’re a seasoned sewing enthusiast or a beginner navigating the world of DIY fashion, this article will provide you with the step-by-step instructions and insider tips to unlock your creative potential and unleash your passion for bucket hat design.
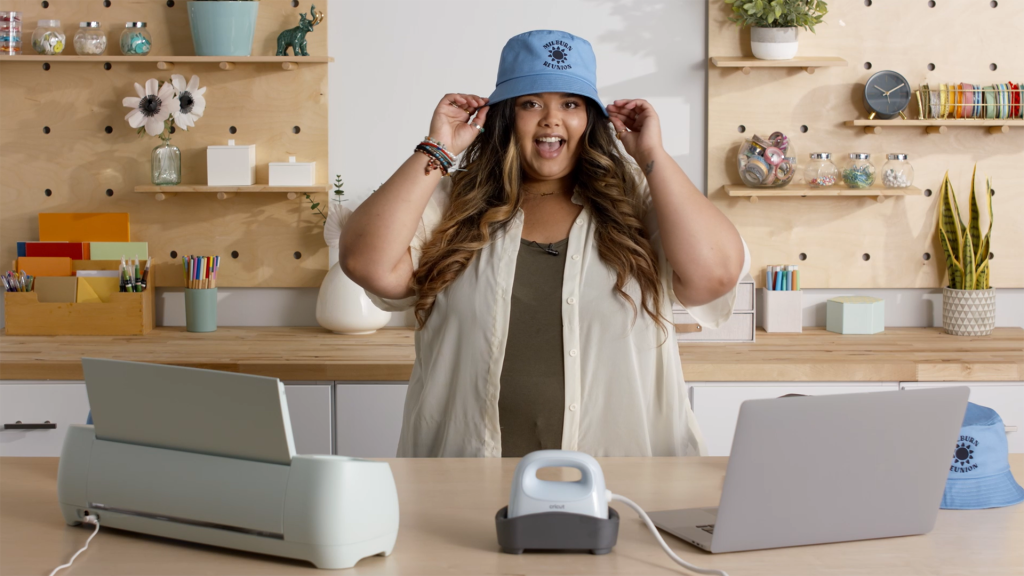
Prepare to embark on a journey of self-expression, where you’ll not only learn how to make a bucket hat but also discover the joy of personalized accessory creation.
Understanding the Bucket Hat: Origins and Appeal
Before we dive into the art of crafting your own bucket hat, it’s essential to explore the origins and enduring appeal of this iconic headwear.

The History and Evolution of the Bucket Hat
The bucket hat, also known as the fisherman’s hat or the boonie hat, has a rich and diverse history that spans across cultures and generations.
The Practical Roots of the Bucket Hat
The bucket hat’s origins can be traced back to the practical needs of fishermen, farmers, and outdoor workers seeking sun protection and weather resistance.
The Bucket Hat’s Transformation into a Fashion Statement
Over time, the bucket hat has transcended its utilitarian roots and become a fashion statement, embraced by various subcultures and style tribes.
The Allure and Versatility of the Bucket Hat
The enduring appeal of the bucket hats lies in its ability to seamlessly blend functionality and fashion, making it a versatile accessory for a wide range of occasions and personal styles.
The Bucket Hat’s Protective Properties
The bucket hat’s distinctive wide brim and structured crown offer excellent sun protection and weather resistance, making it a practical choice for outdoor activities.
The Bucket Hat’s Adaptability to Personal Style
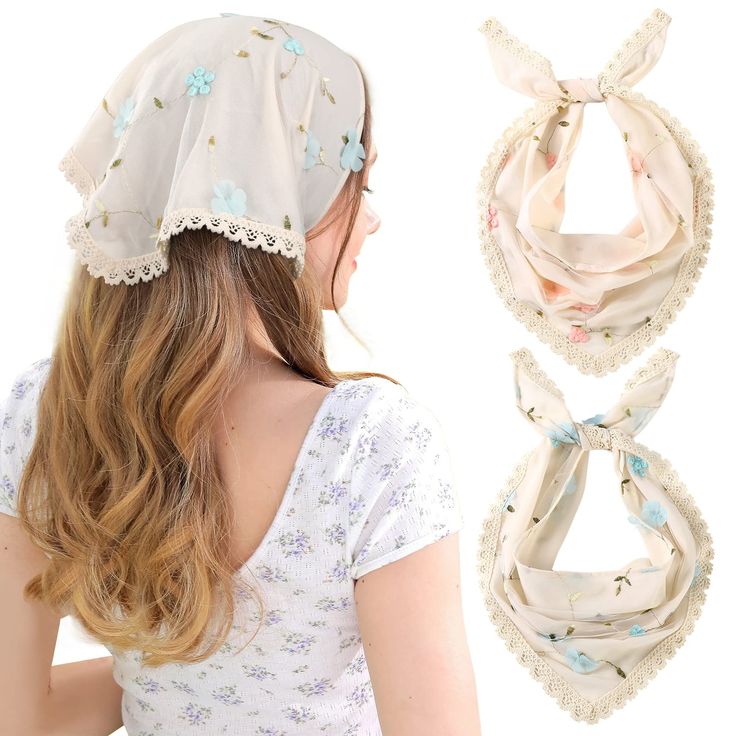
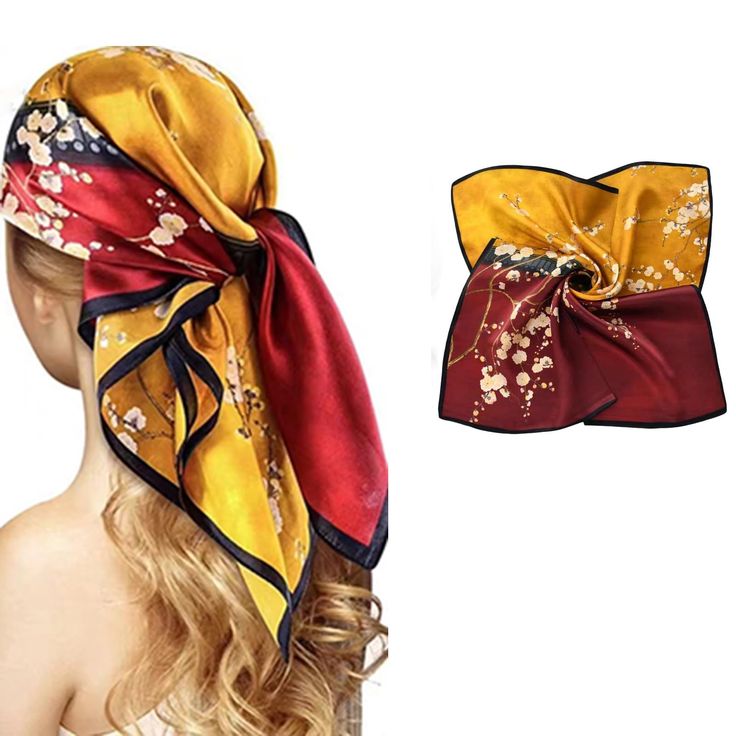
The bucket hat’s simple yet iconic silhouette allows for endless customization and personalization, enabling wearers to express their unique sense of style.
Gathering the Necessary Materials and Tools
To embark on your DIY bucket hat-making journey, you’ll need to gather the right materials and tools to ensure a successful and satisfying sewing project.
Selecting the Fabric
The choice of fabric is a crucial element in creating your personalized bucket hats, as it will impact the overall look, feel, and durability of the finished piece.
Lightweight and Breathable Fabrics
Consider natural fibers like cotton, linen, or lightweight canvas for optimal breathability and comfort.
Water-Resistant or Waterproof Fabrics
If you’re looking to create a more weather-resistant bucket hats, explore options like treated cotton, nylon, or polyester.
Essential Sewing Supplies
In addition to the fabric, you’ll need a collection of basic sewing tools and notions to bring your bucket hat to life.
Sewing Machine and Thread
A sturdy sewing machine and high-quality thread are essential for constructing your bucket hats.
Scissors, Pins, and Measuring Tools
Ensure you have sharp scissors, a measuring tape, and plenty of sewing pins to assist with the cutting and assembly process.
Optional Embellishments and Customizations
To truly make your bucket hats unique, consider incorporating additional elements and accessories to personalize your creation.
Trims, Patches, and Appliqués
Explore decorative trims, patches, or appliqués to add a touch of flair and personal style.
Eyelets or Grommets
Incorporating eyelets or grommets can enhance the functionality of your bucket hats, allowing for the addition of drawstrings or other adjustments.
Step-by-Step Guide to Making a Bucket Hat
Now that you’ve gathered the necessary materials and tools, it’s time to dive into the step-by-step process of creating your very own DIY bucket hat.
Drafting the Pattern
The first step in the bucket hats-making process is to create a pattern that will serve as the foundation for your design.
Measuring and Calculating the Dimensions
Determine the desired size and shape of your bucket hat by taking precise measurements of your head and desired brim width.
Drafting the Pattern Pieces
Use your measurements to sketch out or digitally create the pattern pieces for the crown, brim, and any other necessary components.
Cutting and Preparing the Fabric
With your pattern in hand, it’s time to cut the fabric and prepare it for the sewing stage.
Cutting the Fabric Pieces
Carefully lay out your pattern pieces on the fabric and cut out the required shapes, ensuring precise and consistent cuts.
Interfacing and Stabilizing
Consider applying interfacing or stabilizing materials to key areas of your fabric to reinforce the structure of the bucket hats.
Assembling the Bucket Hat
The assembly process involves carefully stitching the various fabric components together to create the final bucket hats silhouette.
Constructing the Crown
Begin by sewing the crown panels together, ensuring a smooth and structured finish.
Attaching the Brim
Carefully attach the brim to the crown, using techniques like topstitching to secure the seam.
Finishing Touches
Add any final details, such as hems, edge finishing, or customizations, to complete your DIY bucket hat.
Fitting and Adjusting
Once your bucket hat is assembled, take the time to try it on and make any necessary adjustments for a comfortable and flattering fit.
Refining the Fit
Make subtle tweaks to the size, shape, or tension of the hat to achieve the perfect fit for your head.
Incorporating Adjustability
Consider adding features like drawstrings or elastic bands to allow for easy size adjustments and a personalized fit.
Styling and Wearing Your DIY Bucket Hat
With your handcrafted bucket hats in hand, it’s time to explore the countless ways you can style and wear this versatile accessory.
Pairing with Casual Outfits
The bucket hat’s laidback vibe makes it a natural choice for pairing with a variety of casual ensembles.
Athleisure and Streetwear Styles
Combine your DIY bucket hat with sporty or streetwear-inspired outfits for a cool, modern look.
Summertime and Beach-Inspired Looks
Embrace the bucket hat’s beach-ready aesthetic by donning it with summer-friendly outfits and beachwear.
Incorporating into More Elevated Outfits
Contrary to popular belief, the bucket hats can also be seamlessly integrated into more sophisticated and elevated fashion choices.
Transitional Outfits
Pair your DIY bucket hats with structured blazers, midi skirts, or tailored trousers for a stylish, transitional look.
Avant-Garde and Experimental Styles
Unleash your creativity by using the bucket hats as a canvas for bold, experimental fashion choices.
Maintaining and Caring for Your Bucket Hat
To ensure your DIY bucket hat remains in pristine condition and retains its shape, it’s important to follow proper care and maintenance practices.
Gentle Cleaning and Storage
Handwash your bucket hats using mild detergent and air dry it to preserve the fabric and structure.
Reshaping and Molding
Periodically reshape and mold your bucket hats to maintain its desired form and silhouette.
Conclusion: Unleash Your Creativity with a DIY Bucket Hat
The journey of crafting your own DIY bucket hat is not merely about creating a functional and stylish accessory; it’s an opportunity to unleash your creativity, express your personal style, and embark on a rewarding DIY adventure. By understanding the origins and enduring appeal of the bucket hat, gathering the necessary materials and tools, and following the step-by-step guide to construction, you’ve unlocked a world of possibilities for customization and self-expression.