Essential Tools and Materials Needed
When embarking on your hat patch sewing journey, gathering the right tools and materials is crucial. This ensures a smooth sewing process and a professional-looking patch attachment. How to sew a patch on a hat? To get started, here’s what you’ll need:
Choosing the Right Needle and Thread
Picking the appropriate needle and thread is essential. Use a size 10 needle for its ideal size and strength. Matching thread color to your patch border blends stitches beautifully. Approximately 24 inches of thread is a good starting length.
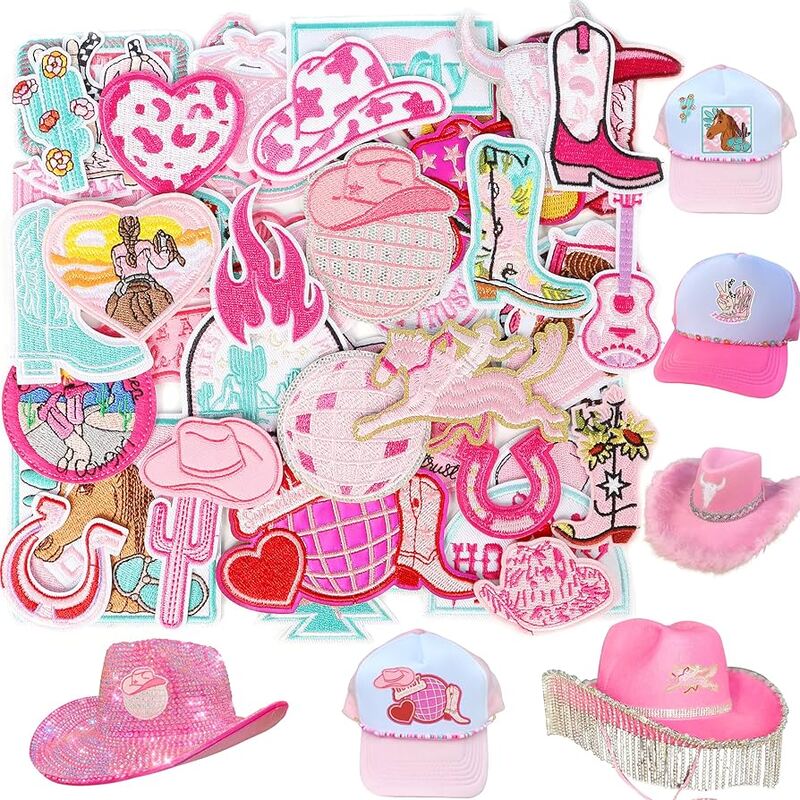
Finding the Perfect Patch for Your Hat
Your patch choice should reflect your style or branding. Consider the size and design of the patch to ensure it fits well on your hat and stands out. Durability is also key for longevity.
Selecting Adhesives: Glue vs. Double Sided Tape
Using an adhesive is vital for keeping the patch in place while you sew a patch on a hat. Glue is a strong option, but requires drying time. Double sided tape offers a quicker set-up but may not hold as firmly. Choose based on your preference and the materials at hand.
Preparing the Patch and Hat
Preparing your patch and hat is a foundational step in ensuring a successful application.
Determining the Placement of the Patch
First, try on your hat to decide where you want your patch to go. It’s crucial to choose a spot where the patch will be visible and fit nicely. Placement should complement the hat’s design and structure. For a balanced look, center the patch or align it symmetrically with other design elements on your hat.
Securing the Patch Before Sewing
Once you’ve chosen the perfect spot, you’ll need to secure the patch in place before sewing. This prevents it from shifting and helps maintain accurate placement throughout the sewing process. Here, you can choose between two common methods: glue or double-sided tape.
Using glue provides a strong hold but requires time to dry. Ensure the glue is appropriate for fabric and dry it completely before continuing. This way, you avoid any messy slip-ups during sewing. On the other hand, double-sided tape offers a quick fix. It’s less messy and doesn’t need drying time. However, its grip may not be as strong as glue. Press down firmly to ensure the patch sticks well to the hat’s surface.
Both options work well; your choice may depend on the materials you have and your own convenience. Remember to place the adhesive around the edges of the patch to create an even hold across its entirety.
The Sewing Process
Embarking on the actual sewing process requires focus and careful handwork. Here’s your step-by-step rundown to ensure your patch is attached securely and looks professionally done.
Threading the Needle and Starting Your Stitch
First, cut a length of thread, roughly 24 inches. Match the thread color to your patch’s border for a seamless look. Thread your size 10 needle and tie a knot at the end of the thread. Begin by securing the thread on the inside of the hat to hide the knot. Make your first stitch from inside, coming up through the hat and patch. Pull the thread all the way through to start sewing around the patch’s border.
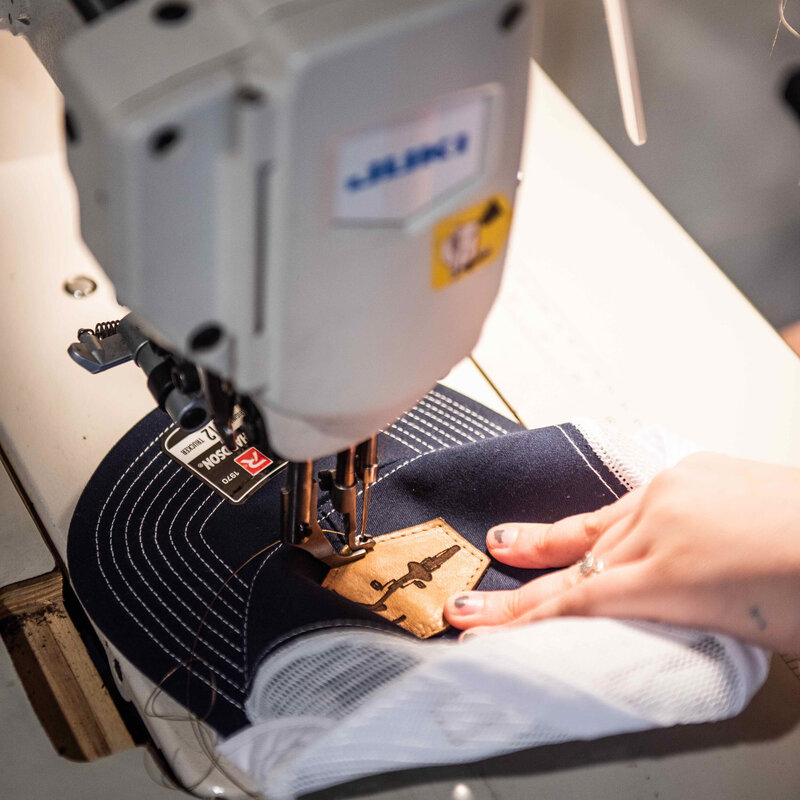
Techniques for Sewing on Different Types of Hats
Different hat materials and shapes can make sewing a bit tricky. For baseball caps, lay the hat flat to maintain its shape as you sew a patch on a hat. For knitted beanies, stretch the fabric slightly for easier needle passage. Always make small, tight stitches to keep the patch in place. Take care around hat seams, as the material may be thicker.
Dealing with Curves and Obstacles
Pay close attention when sewing around curves to maintain a neat stitch line. Stop and pivot the hat as needed to navigate the curved edges smoothly. Keep an eye out for the bill of the hat or any buttons that may obstruct your path. Slow down and carefully maneuver around these obstacles to avoid needle breakage or uneven stitches.
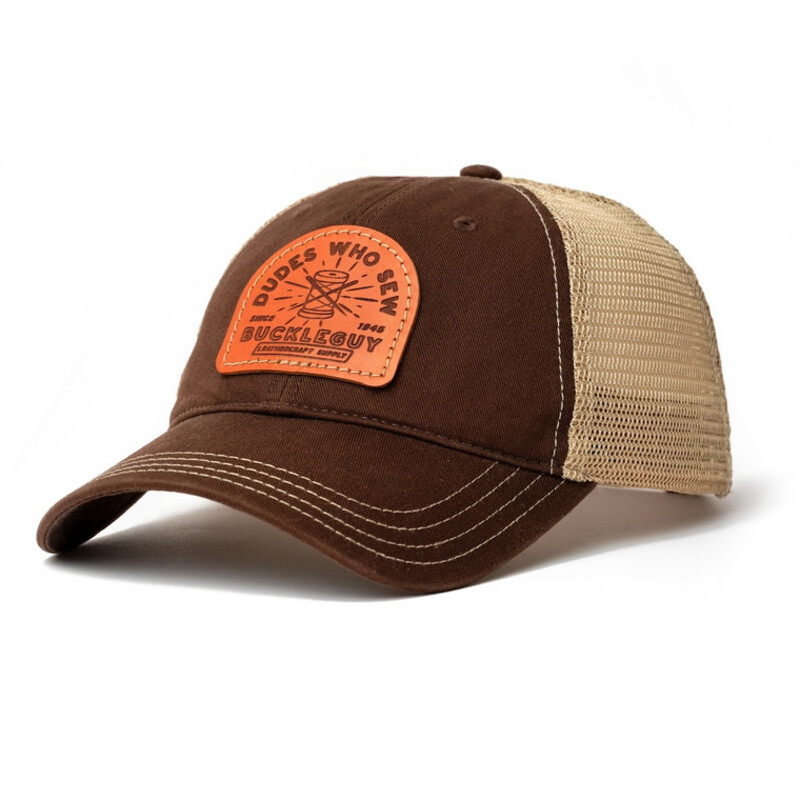
Finishing Touches
After carefully sewing the patch onto your hat, it’s important to add the final touches to ensure durability and a polished look.
Knotting and Securing the Thread
Once you’ve stitched the entire border of the patch, it’s time to finish off the thread. Cut the thread, leaving about three inches. Tie a tight knot close to the fabric. Tuck any loose ends within the stitching to keep the inside neat. A thimble can be helpful to push the needle through the final loops.
Final Inspection and Adjustment
Examine your patch closely. Check for loose threads or uneven stitching that may need correcting. Make sure your patch lies flat against the hat. If needed, make small adjustments for a cleaner appearance. This step is crucial for a patch that looks great and stays in place for a long time.
Tips for Custom Hat Patch Creation
When creating custom patches for hats, there are crucial elements to consider.
Designing Personalized Patches
Design patches that reflect your unique style or brand. Consider the size, shape, and colors that will stand out on a hat. Use bold, clear images or text for visibility. Sketch your design first, then choose high-quality embroidery or printing for a professional look. Keep the hat’s material in mind; it affects how the patch adheres and sits.
Considering Durability and Aesthetics
Select materials that withstand wear and tear. Embroidered patches are durable and give a classic raised texture. Woven patches offer fine details for intricate designs. For a modern, glossy finish, consider dye sublimation patches. Choose colors that resist fading and thread that holds up under stress. Your patch should look good and last long on any hat it adorns.
When designing and choosing your patches, remember the final product represents you or your team. A well-made, attractive patch can turn a simple hat into a statement piece.
Troubleshooting Common Issues
While sew a patch on a hat, you might encounter some issues. Let’s explore how to handle them.
Handling Material Creases and Wrinkles
Creases and wrinkles can appear during the sewing process, especially with flexible materials. Here’s what you can do:
- Flatten the hat before starting and during sewing; use your hands to smooth out the fabric.
- For stubborn creases, lightly apply steam from an iron, but be careful with synthetic fabrics.
- If wrinkles form around the patch, gently stretch the area and re-apply heat or steam to relax the material.
- After sewing, if the hat still shows creases, use steam and a cloth to protect the patch while pressing.
What to Do If Your Stitching Goes Awry
Mistakes can happen, but they’re often fixable. If your stitching isn’t right:
- Don’t panic. Unthread your needle and carefully remove the incorrect stitches with scissors.
- If the thread knots or tangles, gently pull apart the tangle or cut it out with small scissors.
- Re-thread your needle and start again, being more cautious with your stitch placement.
- Remember to keep stitches small and even for a strong hold and neat appearance.
By tackling these common issues head-on, you can ensure your patch attachment looks great and stands the test of time.
Additional Resources
When embarking on the journey of sewing patches onto hats, it’s important to have access to helpful resources.
When to Seek Professional Assistance
Seek professional help if you find yourself grappling with:
- Complex patch designs or tricky materials.
- Sewing machine malfunctions or a lack of proper equipment.
- Continued difficulty after many attempts, resulting in frustration.
- A need for large quantities or professional-level quality for business or events.
Professionals bring expertise, equipment, and efficiency to your project. They ensure your patches look great and the hats remain in top condition.
Learning More Through DIY Guides
Gather more knowledge and confidence in sewing patches on hats by:
- Watching tutorial videos.
- Reading detailed guides from craft blogs or websites.
- Attending workshops or classes if available locally.
- Discussing techniques with experienced crafters in online forums or community groups.
These resources can provide new tips and tricks, even for more experienced sewers. They help you refine your skills and perhaps even master the art of sewing patches onto any kind of hat.