Sew a patch on a hat is a rewarding and creative endeavor. This process allows you to personalize your hat, making it distinct. Many people love to express themselves through their favorite headwear. A well-placed patch can add flair and character. Moreover, it can also serve as a conversation starter. In this guide, we will explore a step-by-step approach to adding a patch onto your hat. We will discuss necessary materials, preparation steps, and the sewing technique itself. Whether you’re new to sewing or have experience, this article will guide you through the entire process.
Materials You Will Need
When starting your project, gather all necessary materials. You will need the right items to complete the sewing task successfully. First, select your patch. The patch can be decorative or serve a functional purpose. Ensure you choose a patch that complements the style of your hat. Next, choose a hat fabric that allows for easy sewing. Common materials include cotton, polyester, or a blend. All these materials work well for patches.
In addition, you will need good quality thread. Matching thread to the color of your patch helps the design flow seamlessly. Also, consider getting embroidery needles. These have a larger eye to accommodate thicker thread. While shopping, do not forget to get scissors. Sharp scissors will make your work cleaner and more precise. Finally, have pins on hand. These will help hold the patch in place while you sew.
Choosing the Right Patch
Choosing the right patch can make all the difference in your design. Patches come in various shapes, sizes, and colors. Thus, take some time to browse different options. You might find patches featuring logos, designs, or fun slogans. Such options not only enhance the hat’s visual appeal but also highlight your interests or personality.
Furthermore, consider the size of the patch relative to the hat. A large patch on a small hat can be overwhelming. Conversely, a tiny patch on a large hat may look lost or insignificant. Always find a balance that feels harmonious and aesthetically pleasing.
Selecting Your Hat
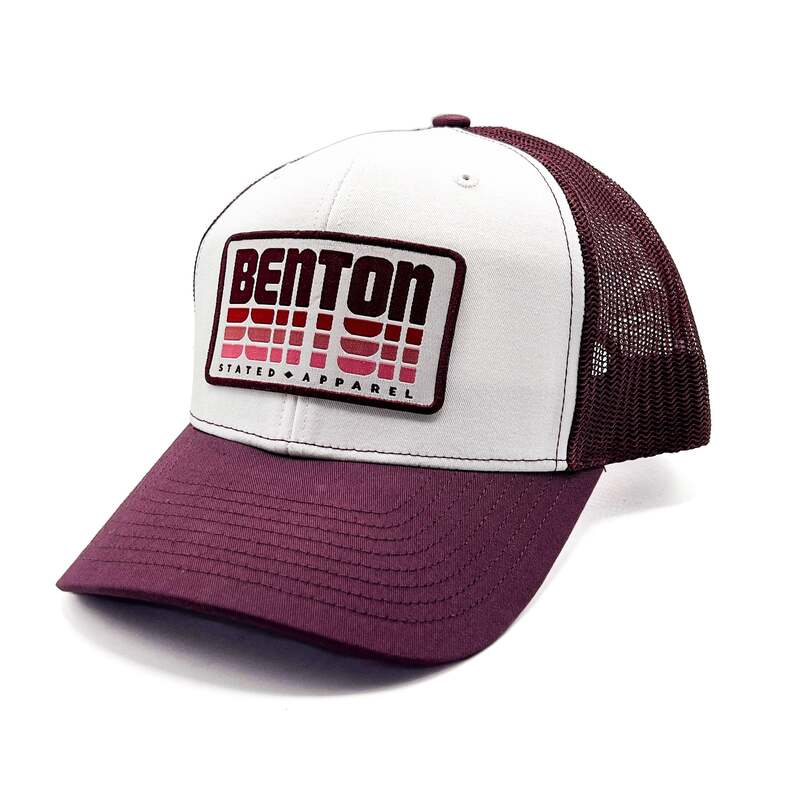
Equally important is choosing the right hat for your patch. The hat style can determine how well the patch will adhere. Baseball caps, beanies, and bucket hats are all popular choices. Each style offers unique canvases for your patches. For example, a baseball cap provides a flat surface, ideal for larger patches.
On the other hand, a beanie may work better for smaller patch designs. The texture and material are also crucial. Ensure the hat is made from a fabric conducive to sewing. All these factors affect the overall appearance and longevity of your design.
Preparing Your Hat and Patch
Before starting the sewing process, proper preparation is essential. Begin by washing your hat if it isn’t already clean. This step removes dirt and oils that could interfere with sewing. Allow the hat to dry completely before proceeding. Additionally, iron your patch to remove any wrinkles. Smooth patches ensure a neater final look.
Next, decide on the placement of your patch. Hold it on the hat and visualize. Pin the patch lightly in place to check its positioning. Make sure it is centered if that is your aim. Take your time with this stage. If necessary, adjust the patch’s orientation until you are satisfied.
Marking the Placement
Once you have chosen the perfect spot, it is time to mark the placement. Using fabric chalk, mark the outline of the patch gently. This marking will guide you during the sewing process. However, avoid using a permanent marker, as it may not wash out later.
Additionally, ensure the markings are visible but discreet. You do not want the marks to show after sewing. Once marked, double-check the placement again. It is crucial to get this step right. You can always make changes before sewing, but it becomes tricky afterward.
Pinning the Patch
Once you have marked the placement, the next step is to pin the patch onto the hat. Position the patch accurately over the markings. Use sewing pins to secure the edges of the patch to the hat. Be sure to insert the pins at a 90-degree angle. This positioning makes them easier to remove later while you sew.
Additionally, placing the pins about an inch apart works well. This distance ensures the patch remains stable while you work. If desired, you can use more pins for added security. As a result, you will experience fewer slips and shifts while sewing. At this point, you are ready to start stitching.
Sewing the Patch onto the Hat
Now that everything is in place, begin the sewing process. Start by threading your needle with long enough thread. Generally, about 24 inches of thread is a good length. Tie a small knot at the end to secure the thread. This step prevents the thread from slipping through the fabric.
Begin sewing at one edge of the patch. Use a simple straight stitch along the border. Make sure that your stitches are consistent in spacing. As you sew, keep the fabric taut but not stretched. Consistent tension helps create a clean and professional appearance.
Stitching Techniques
To achieve a well sew patch on hat, several stitching techniques exist. A basic straight stitch, as mentioned, is effective but may not be the most durable option. For additional durability, consider using a zigzag stitch. This stitch helps secure both the patch and the hat fabric. As you sew, the zigzag shape wraps around each edge.
Another option is the whip stitch. This stitch looks decorative and adds a professional touch. To perform this stitch, loop the needle around the patch edge and back through. Repeat this process around the patch, ensuring even spacing between stitches.
Securing the Stitches
As you reach the end of your sewing, it is crucial to secure the stitches correctly. Pull the thread through to the inside of the hat and tie a small knot. This step prevents unraveling and maintains the integrity of your work. Often, it helps to make an additional knot for extra security.
Cut any excess thread with sharp scissors for a clean look. After completing the sewing, inspect your work for any loose stitches. Make necessary adjustments to ensure all edges are securely attached. You want your patch to be both sturdy and visually appealing.
Finishing Touches
With the patch sewn securely, it’s time to give your hat the finishing touches. First, examine the overall appearance. Look for any stray threads or imperfections. Trim any loose threads carefully to maintain a tidy finish. Furthermore, you can iron the hat to smooth out any wrinkles created during the sewing process.
Another option is to add additional patches or embellishments if you desire. This layering technique can create a unique and eye-catching design. Explore themes, colors, or styles that resonate with you. Moreover, these additional touches can reflect your personality.
Cleaning Your Hat
To maintain the look of your hat and patch, occasional cleaning is essential. Always follow the care instructions indicated on the hat label. Spot-cleaning often works well for areas that get dirty. Always test your cleaning method on a hidden area first. This step ensures that your cleaning products won’t damage the fabric.
Additionally, routine washing is necessary to keep it looking fresh. Always remove or stitch down patches securely before washing. Wash your hat according to its fabric type. For example, delicate fabrics may require hand washing. More durable materials can usually manage a gentle cycle in the washing machine.
Showcasing Your Creation
After completing your project, it’s time to show it off! Wear your hat with pride and let others admire your handiwork. You can also share photos on social media. Many platforms celebrate DIY projects and personalized accessories. By showcasing your creation, you might inspire others to try their hand at sewing patches.
Moreover, consider gifting a similar custom-made hat to a friend or family member. Personalized gifts often hold a special place in people’s hearts. Perhaps even start a small local business or participate in craft fairs. Your creativity and skill can translate into a unique side venture as well.
Troubleshooting Common Issues
Although sew patch on hat is simple, challenges may arise. Understanding common issues can help alleviate frustration. One common problem is the patch lifting or peeling after sewing. This situation often occurs if the patch was not securely attached. To fix this, reinforce the edges with more stitches or glue.
Another issue can be uneven stitching. If stitches appear sloppy or misaligned, you can remedy this. Use a seam ripper to carefully remove the irregular stitches. Afterward, take your time to resew the patch neatly. As a precaution, practice your stitches on scrap fabric first.
Dealing with Fraying Edges
Fraying edges may be another complication to face. This problem typically arises if the fabric of the patch is delicate. To prevent fraying, consider applying a thin line of fabric glue along the edges. Additionally, you might opt for patches with finished edges, as they reduce this risk.
In some cases, stitching around the edges with a zigzag stitch helps minimize fraying. This technique encloses the fabric fibers, offering additional durability. Always keep your materials in mind to select the best approach.
Storing Your Hat
Lastly, when you’re not wearing your hat, proper storage is essential. Hats can easily lose shape if not stored correctly. Avoid stacking other hats on top, as this can create creases. Instead, store them upright in a designated space. Hat boxes or shelves specifically designed for hats are ideal.
If your hat is particularly special or embellished with patches, consider using a dust cover. This additional layer protects against dust and keeps the fabric clean. Take care of your creations, and they will serve you well for many years. With thoughtful storage practices, your patches will remain as vibrant as the day you stitched them.

Conclusion
Sewing a patch on a hat is an exciting creative venture. This simple act allows for personal expression and customization in your fashion. By following the steps above, a unique and fashionable accessory can be created. Gather your materials, plan your design, and sew with care.
Not only will this enhance your hat, but it also provides an opportunity for you to personalize your wardrobe. Enjoy the process, and take pride in your handiwork. Furthermore, engage with others who share the same interest in DIY. In conclusion, never underestimate the power of a simple patch. Your hat can become a canvas for memories and self-expression. Happy sewing!