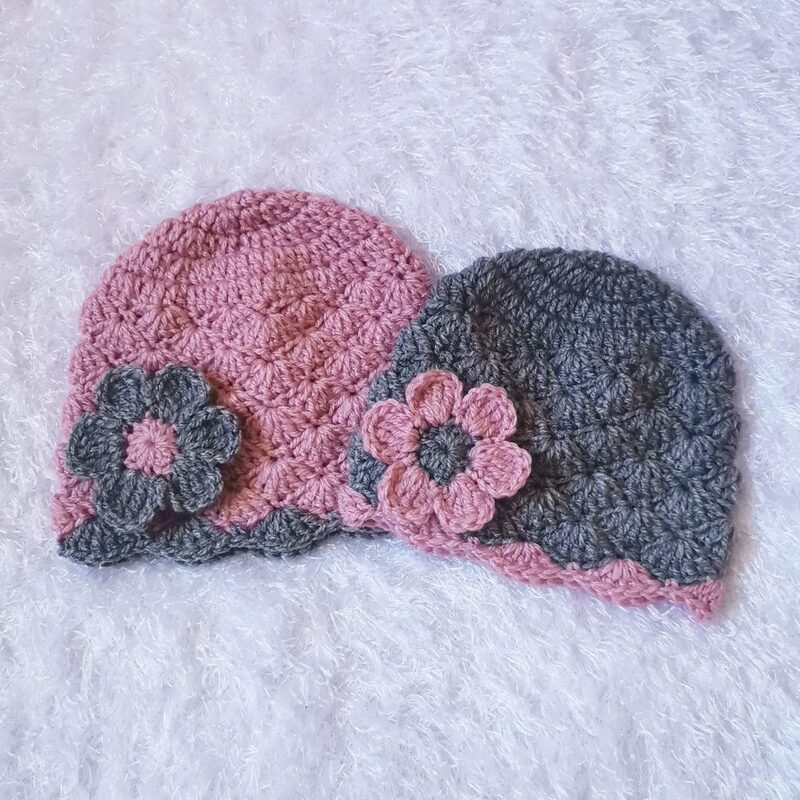
Creating a baby hat using crochet techniques can be a highly rewarding and fun experience. Not only is it a practical item for any infant, but it also offers a wonderful opportunity to delve into the art of crochet. Whether you’re an absolute novice or have some crochet skills, this guide is designed to help you make a hat that fits a baby aged 0 to 3 months. By following these easy steps, you’ll soon know how to crochet a baby hat 0-3 months for beginners.
How to crochet a baby hat 0-3 months for beginners? Materials Needed
Before commencing your crochet project, it’s essential to gather all your supplies. This will ensure you do not have to halt your progress midway through. To crochet a baby hat, you will need a medium-weight yarn. Opt for a soft, machine-washable yarn suitable for babies, such as cotton or a special baby blend. Additionally, select a size G (4.0 mm-4.5 mm) crochet hook, commonly recommended for beginners.
Importance of Choosing the Right Yarn
Picking the right yarn is critical to the success of your project. It affects the hat’s softness, durability, and overall appearance. Make sure the yarn is hypoallergenic, as newborns have sensitive skin. Their skin can easily become irritated by harsh materials. Selecting the right yarn will ensure your project not only looks beautiful but also feels comfortable. Lastly, always read the yarn label to determine the care instructions.
Additional Tools
Besides the crochet hook and yarn, you will need some additional tools. A yarn needle for weaving in ends and a pair of sharp scissors are essential. A measuring tape can help you check the hat’s dimensions as you go. Additionally, having stitch markers can make your work simpler, especially if you’re new to crochet. They help you keep track of rounds and stitches, making your project less daunting.
Basic Stitches and Techniques
To crochet a baby hat, you need to familiarize yourself with some basic stitches and techniques. Learning these stitches will lay a solid foundation for your crochet journey.
The Slip Knot and Chain Stitch
Start with the slip knot, the foundation for any crochet project. Create a loop with your yarn, then pull a second loop through the first one. Tighten both loops to secure the knot. Next, proceed to make your chain stitches. Yarn over your hook and pull through the loop. Repeat this process to form a chain of stitches. This foundational chain forms the initial round of your hat.
Single Crochet and Double Crochet
Single crochet (sc) and double crochet (dc) stitches are crucial for making a baby hat. To make a single crochet, insert the hook into a stitch, yarn over, pull through the stitch, yarn over again, and pull through both loops. For a double crochet, yarn over first, insert the hook, yarn over again, pull through the stitch, yarn over once more, pull through two loops, yarn over again, and pull through the remaining two loops. Mastering these stitches will enable you to tackle a wide range of crochet projects.
How to crochet a baby hat 0-3 months for beginners? Pattern Instructions
Now that you have your materials and know the basic stitches, it’s time to start crocheting your baby hat. Follow these step-by-step instructions closely for a successful outcome.
Step 1: Creating the Magic Ring
Begin by making a magic ring, which will allow you to crochet in the round. To create a magic ring, loop the yarn around your fingers to form a circle. Insert your hook into the circle, yarn over, and pull through. Chain one stitch to secure the ring. This step ensures a well-fitting crown for your baby hat. An alternative method is to chain five stitches and join them with a slip stitch to form a small ring.
Step 2: Crocheting the Crown
Next, work eight single crochets into the magic ring. Pull the tail end of the yarn to close the ring tightly. Slip stitch into the first single crochet to join the round. For the second round, chain one and make two single crochets into each stitch around, yielding sixteen stitches. As you continue to form the crown, follow an increasing sequence in each round. For instance, in the third round, work two single crochets in the first stitch and one single crochet in the next stitch, alternating around for a total of twenty-four stitches.
Step 3: Working on the Body of the Hat
After forming the crown, it’s time to work on the body of the hat. Continue crocheting in rounds without further increasing the number of stitches. Switching to double crochet stitches from this stage helps build the hat’s body more quickly. Complete each round with a slip stitch, then chain two to start the next round. Do this until the hat reaches the desired length, usually around five inches for a newborn.
Finishing the Hat
Once the body of the hat is completed, it’s time to take care of the final touches. These steps ensure your hat looks professional and polished.
Edging and Trimming
To create a neat edge, switch back to single crochet stitches for the final round. Work one single crochet into each stitch around. This creates a tighter, more refined edge. You can also opt for a decorative edging, such as a crab stitch or a picot edge. This adds a unique touch to your baby hat.
Weaving in Ends and Adding Embellishments
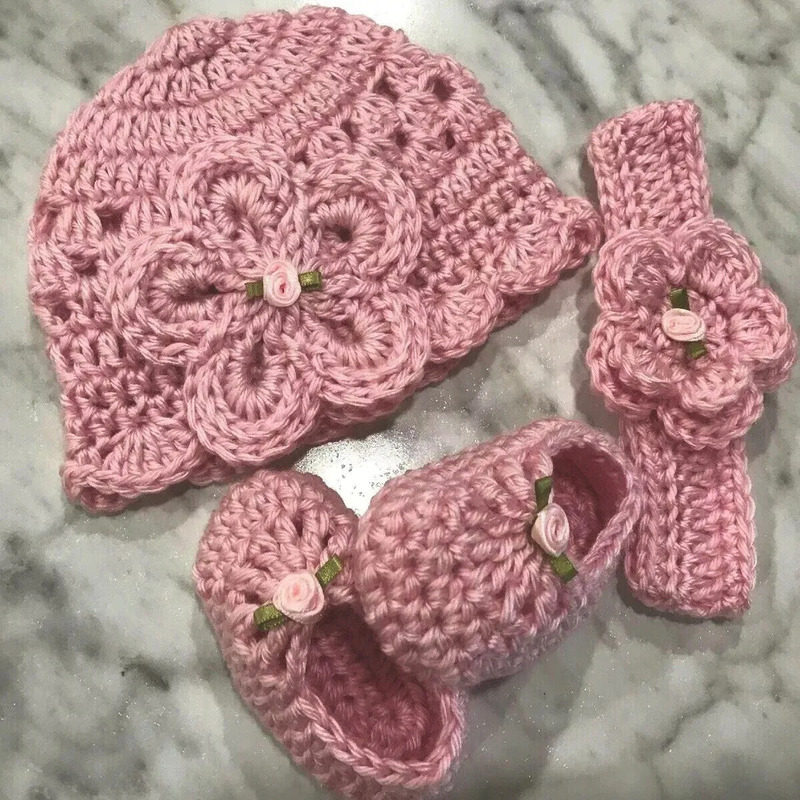
After finishing the edging, use a yarn needle to weave in any loose ends. This step ensures the hat is secure and threads do not unravel. Trim any excess yarn with sharp scissors. To add a personal touch, consider embellishing the hat. Small crochet flowers, bows, or buttons can make the hat look adorable. However, ensure these additions are securely attached and free from choking hazards.
Troubleshooting Common Issues
Even with careful attention, you might encounter some common issues. Knowing how to troubleshoot will help you avoid frustration.
Uneven Stitches
Uneven stitches are a frequent problem for beginners. Practicing your tension can greatly help. Try holding your yarn consistently and use stitch markers to keep track. Consistency will come with time and patience.
Incorrect Gauge
Gauge is crucial for ensuring the hat’s size. If your hat is too big or too small, check your gauge. Use a measuring tape and adjust your hook size if necessary. Remember, a smaller hook tightens stitches, while a larger hook loosens them.
Practice Makes Perfect
Like any new skill, mastering crochet requires practice. Don’t be discouraged if your first hat isn’t perfect. Each project provides valuable learning experiences. Take your time to practice and refine your technique. Soon, you’ll find yourself more comfortable and confident in your crochet abilities.
Experiment with Different Patterns
Once you’ve mastered the basic baby hat, try experimenting with different patterns. Incorporating different stitches, such as the half-double crochet or shell stitch, can add variety to your work. Also, playing with colors and yarn types can give your hats a unique flair. Keep challenging yourself with new patterns and techniques to continually improve your skills.
In conclusion, crocheting a baby hat for 0-3 months olds is an enjoyable and rewarding project for beginners. By following these detailed steps and practicing regularly, you’ll be crafting beautiful hats in no time. Not only will you create a functional item, but you will also develop a cherished skill. Enjoy your crochet journey!