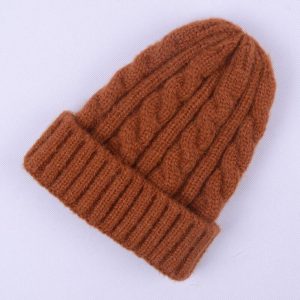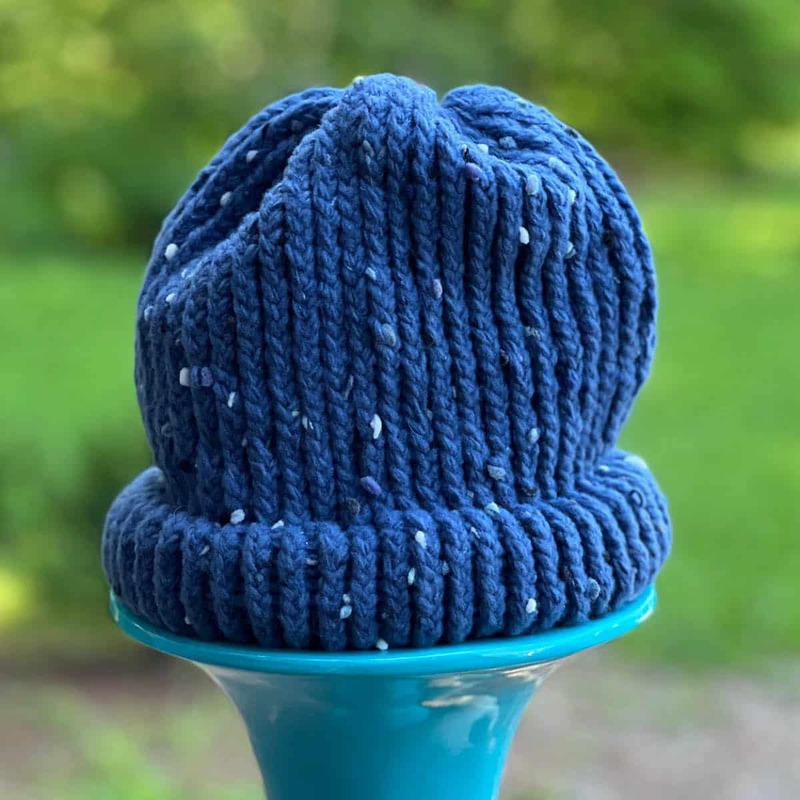
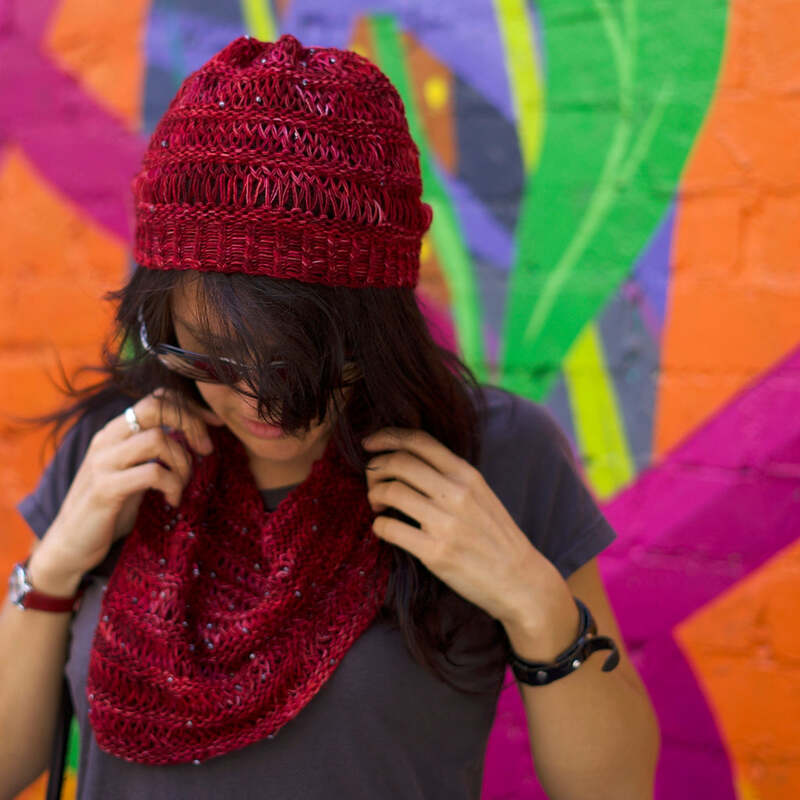
Loom knitting is a wonderful and straightforward way to create beautiful knitted items without traditional knitting needles. One of the most popular projects for loom knitting beginners and seasoned crafters alike is making a hat. Therefore, understanding the basic techniques and steps involved in loom knit a hat is essential. This comprehensive guide explores materials needed, the loom knitting process, and finishing techniques. By following these insights and tips, you can successfully create a cozy and stylish hat using a knitting loom.
Materials Needed for Loom Knit a Hat
Before beginning your loom knitting project, it’s essential to gather all the necessary materials. Therefore, understanding the tools and supplies required ensures a smooth crafting process.
Choosing the Right Loom
The first step is selecting the appropriate knitting loom for your hat project. Round looms are typically used for making hats, and they come in various sizes. For an adult-sized hat, a loom with 41 to 48 pegs is ideal, while a smaller loom with 31 to 36 pegs works well for a child-sized hat. The size of the loom determines the circumference of the hat. Therefore, recognizing the importance of choosing the right loom ensures the perfect fit for your hat.
Yarn Selection
Selecting the right yarn is crucial for the success and comfort of your hat. Thicker yarns, such as bulky or super bulky weight yarns, are ideal for loom knit hat as they provide warmth and work up quickly. The yarn’s texture and color depend on your personal preferences and the hat’s intended use. Therefore, understanding yarn selection helps ensure a cozy and visually appealing final product.

Setting Up Your Loom and Casting On
Once you have gathered your materials, setting up your loom and casting on is the next step. Therefore, exploring these initial steps ensures a solid foundation for your knitting project.
Wrapping the Loom
Begin by securing your yarn to the anchor peg on the side of your round loom. This holds the yarn in place while you wrap the pegs. Wrap the yarn around each peg counterclockwise, creating a loop on each one. Ensure the yarn is wrapped loosely enough to allow easy manipulation but tight enough to maintain tension. After wrapping all the pegs, push the loops down to the bottom of each peg to make room for the next row. Therefore, recognizing the importance of proper wrapping technique ensures smooth and even knitting.
E-Wrap Cast-On
The E-wrap cast-on is a common method used in loom knitting to create the foundation row. After wrapping all the pegs, wrap each peg again in the same counterclockwise motion, creating a second loop on top of the first one. Use the loom hook to lift the bottom loop over the top loop and off the peg, securing the stitch. Repeat this process around the entire loom until only one loop remains on each peg. Therefore, understanding the E-wrap cast-on technique ensures a secure and even starting row for your hat.
Knitting the Hat Body
With the cast-on complete, the next phase involves knitting the body of the hat. Therefore, exploring the knitting process helps build the hat to your desired length.
Creating the Brim
The brim of the hat adds structure and style. To create a brim, you can use the e-wrap stitch or a rib stitch pattern for a stretchy and snug fit. For an e-wrap brim, continue wrapping each peg in a counterclockwise motion, lifting the bottom loop over the top loop to create new stitches. Repeat this process until the brim reaches your desired length, typically 10-20 rows. Therefore, recognizing the importance of creating the brim ensures both style and functionality.
Knitting the Main Body
Once the brim is complete, it’s time to knit the main body of the hat. Continue using the e-wrap stitch for a simple and consistent pattern. Depending on the type of yarn and the fit you desire, knit 20-30 rows for an adult-sized hat. The number of rows can be adjusted to make the hat longer or shorter as needed. Therefore, understanding how to knit the main body ensures that your hat reaches the desired length and style.
Shaping and Finishing the Hat
Shaping and finishing the hat is crucial for achieving a polished and wearable final product. Therefore, exploring these final steps ensures a successful and professional-looking hat.
Decreasing Stitches
To shape the top of the hat, you will need to decrease the number of stitches. Several methods can achieve this, but a simple technique involves knitting two pegs together. Transfer the loop from one peg to the adjacent peg and knit them together as one. Repeat this process around the loom until you have reduced the number of loops on each peg. This will create a gathered effect at the top of the hat. Therefore, recognizing the importance of decreasing stitches ensures a smooth transition to the crown of the hat.
Binding Off and Closing the Hat
Once you have decreased the necessary stitches, it’s time to bind off and close the hat. Cut the yarn, leaving a long tail for sewing. Thread the tail through a yarn needle and weave it through the loops on each peg, removing them from the loom as you go. Pull the tail tightly to gather the top of the hat and secure it with a knot. Weave in any loose ends to complete the hat. Therefore, understanding the binding off process ensures a secure and professional finish to your hat.
Tips for Customizing Your Hat
Customizing your hat with different styles and embellishments adds a personal touch to your project. Therefore, exploring various customization options enhances creativity and individuality.
Adding a Pom-Pom
Adding a pom-pom to the top of your hat is a fun and stylish way to customize your project. You can purchase pre-made pom-poms or make your own using leftover yarn. Attach the pom-pom to the top of the hat with a secure knot. This simple addition adds a playful element and enhances the hat’s visual appeal. Therefore, recognizing the impact of adding a pom-pom ensures a lively and personalized final product.
Incorporating Patterns and Colors
Experimenting with different patterns and colors allows you to create unique and eye-catching hats. Try alternating yarn colors to create stripes or using variegated yarn for a multi-colored effect. Incorporating different stitch patterns, such as ribbing or garter stitches, adds texture and interest to the hat. These customization options enable you to express your creativity and make one-of-a-kind knitted items. Therefore, understanding the potential of patterns and colors ensures a distinctive and personalized hat.

Caring for Your Loom Knit Hat
Proper care and maintenance of your loom knitted hat ensure its longevity and continued enjoyment. Therefore, exploring care tips helps preserve your handmade creation.
Washing and Drying
Washing your hat according to the yarn manufacturer’s instructions is essential for maintaining its appearance and quality. Handwashing in cold water with a gentle detergent is generally recommended for delicate fibers. Avoid wringing or twisting the hat, as this can distort its shape. Lay the hat flat to air dry, reshaping it as needed. Therefore, recognizing the importance of proper washing and drying ensures your hat remains in good condition.
Storing Your Hat
Proper storage of your hat preserves its shape and prevents damage. Store the hat flat or gently folded in a cool, dry place away from direct sunlight. Avoid hanging the hat for extended periods, as this can stretch and distort the fibers. Placing the hat in a breathable fabric bag or storage box provides additional protection. Therefore, understanding proper storage techniques ensures your hat retains its quality and shape.
Conclusion
Understanding how to loom knit a hat involves exploring materials, setting up the loom, knitting techniques, and finishing steps. Proper knowledge ensures a successful and enjoyable knitting experience.
Exploring elements like choosing the right loom and yarn, recognizing the importance of casting on, and identifying techniques for knitting the brim and main body provides valuable insights. Recognizing the significance of shaping, binding off, and customization options further enriches the understanding.
By engaging with tips for caring for your hat, you can ensure its longevity and continued enjoyment. Therefore, whether you are a beginner or an experienced crafter, understanding these aspects offers practical and valuable insights. Embrace the opportunity to create beautiful, customized loom-knitted hats, knowing you have the knowledge and resources to achieve your crafting goals!